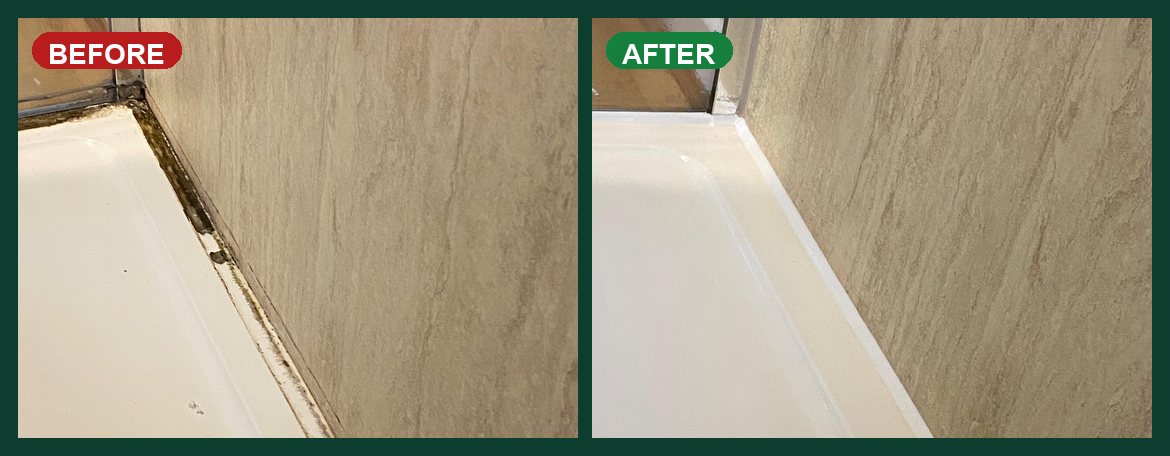
Black mould along a shower tray is rarely just a cleaning job. Once silicone has split, the mould is growing in the gap, and every shower sends water behind the tray and into the wall. This job from a South Wales home shows three places that fail on the same tray — the corner, the glass screen and the long joint — and what a proper reseal looks like afterwards.
Get a guide price for shower tray resealing
The corner: a gap you can see
The corner is where water sits longest, and it is often the first place a shower tray seal gives up.
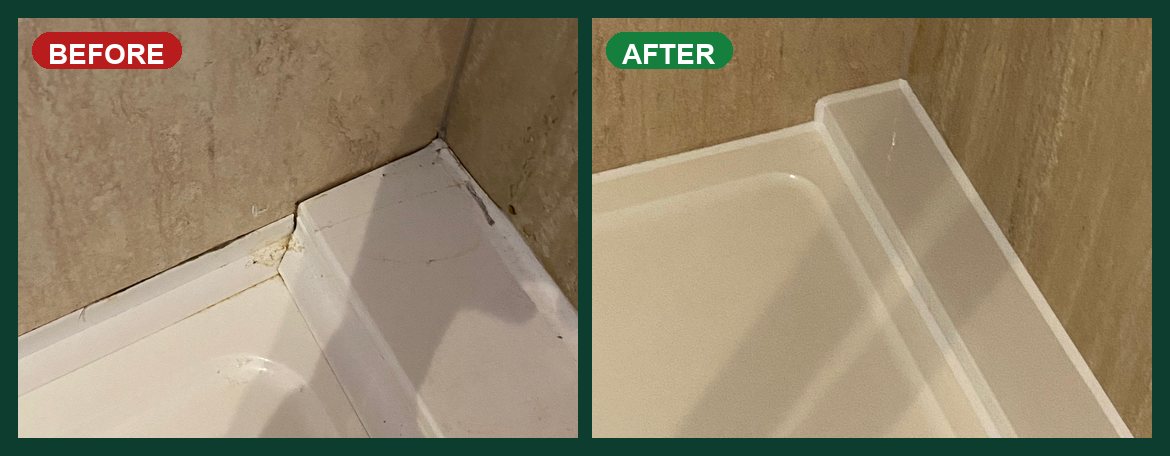
Before, the old bead had yellowed and pulled away, leaving a gap where the tray meets the tiles. After, that corner is closed with a continuous white seal that turns the water back into the tray.
The screen: where mould hides
The joint where the glass screen meets the tray is a classic leak point. It is tight, it stays damp, and old silicone here goes black long before the rest of the bathroom looks tired.

Wiping the surface will not fix this. The mould is in the failed seal, not on top of it. The old silicone has to come out, the joint has to dry, and a new sanitary bead has to be tooled into the corner.
The long joint along the tray
Along the rest of the tray the same thing was happening: a cracked, stained bead with mould sitting in the splits, right up to the screen profile.
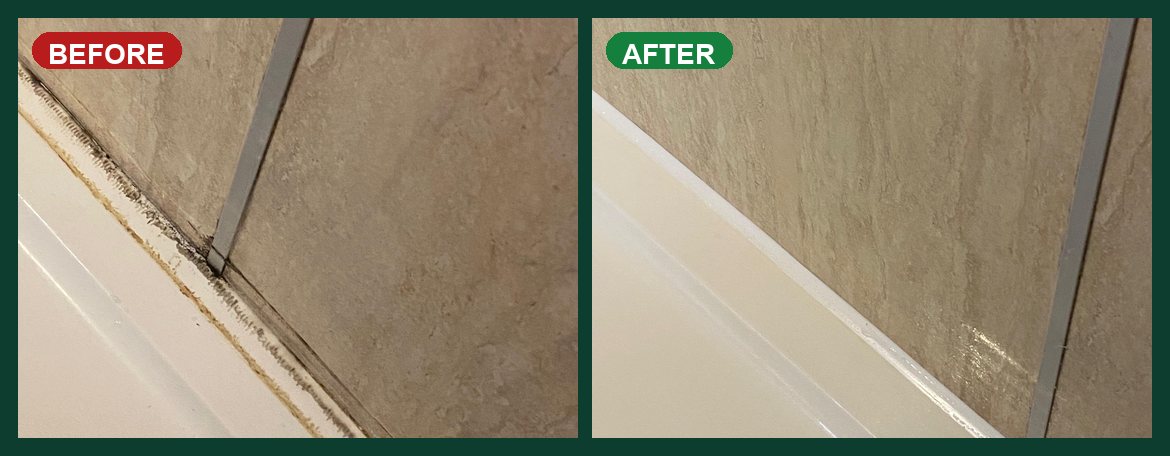
A reseal only works if the whole joint is done, not just the worst-looking inch. Leaving a section of old silicone next to a new bead is how the mould comes straight back.
What the finished tray looks like
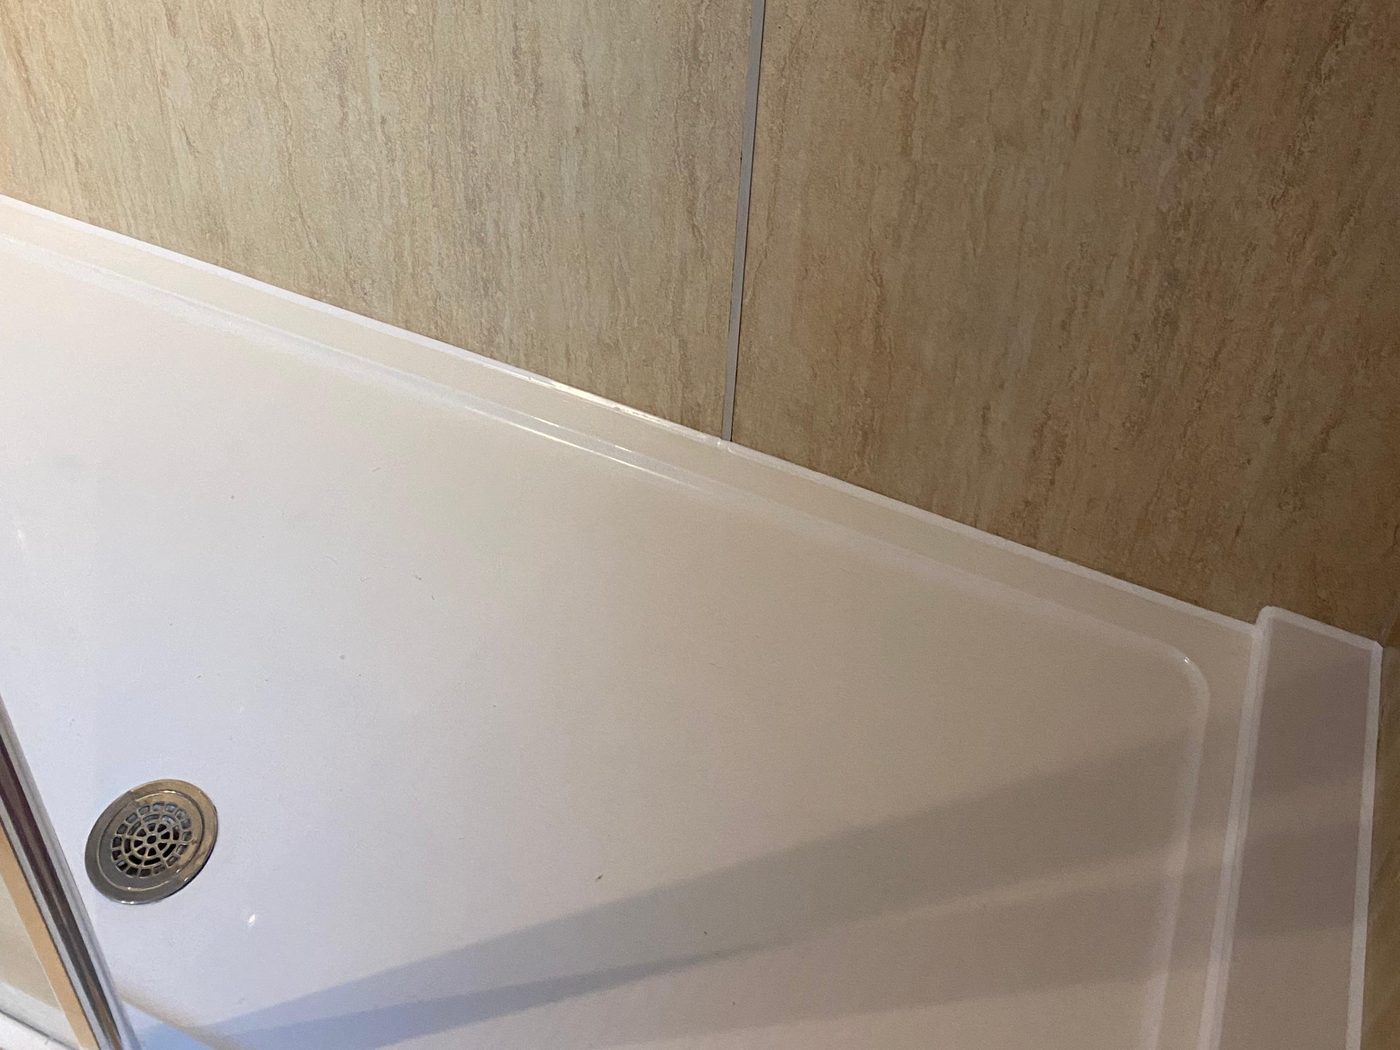
The tiles and the tray did not change. The seal did. A clean, even bead along the tray, around the waste side and up to the screen is what keeps water in the tray.
When shower tray silicone needs replacing
Book a reseal if you can see any of these:
- Black or brown mould that comes back after cleaning
- Silicone that has split, lifted or pulled away from the tray or the tiles
- A gap at the corner or beside the glass screen
- A bead that was painted or sealed over the old one
- Damp, staining or a musty smell outside the shower
If the seal has failed, new silicone over the top will not hold. The old material, the mould and the soap residue all have to come out first.
How we reseal a mouldy shower tray
1. Remove every trace of the old silicone, including the corners and the screen profile.
2. Clean mould and debris out of the joint, not just off the surface.
3. Let the joint dry before any new sealant goes in.
4. Apply a sanitary-grade silicone and tool it into a neat bead that sheds water back into the tray.
For a closer look at one shower tray reseal, see shower tray resealing: a before and after. More of this job is in the gallery:
Tray corner — before and after