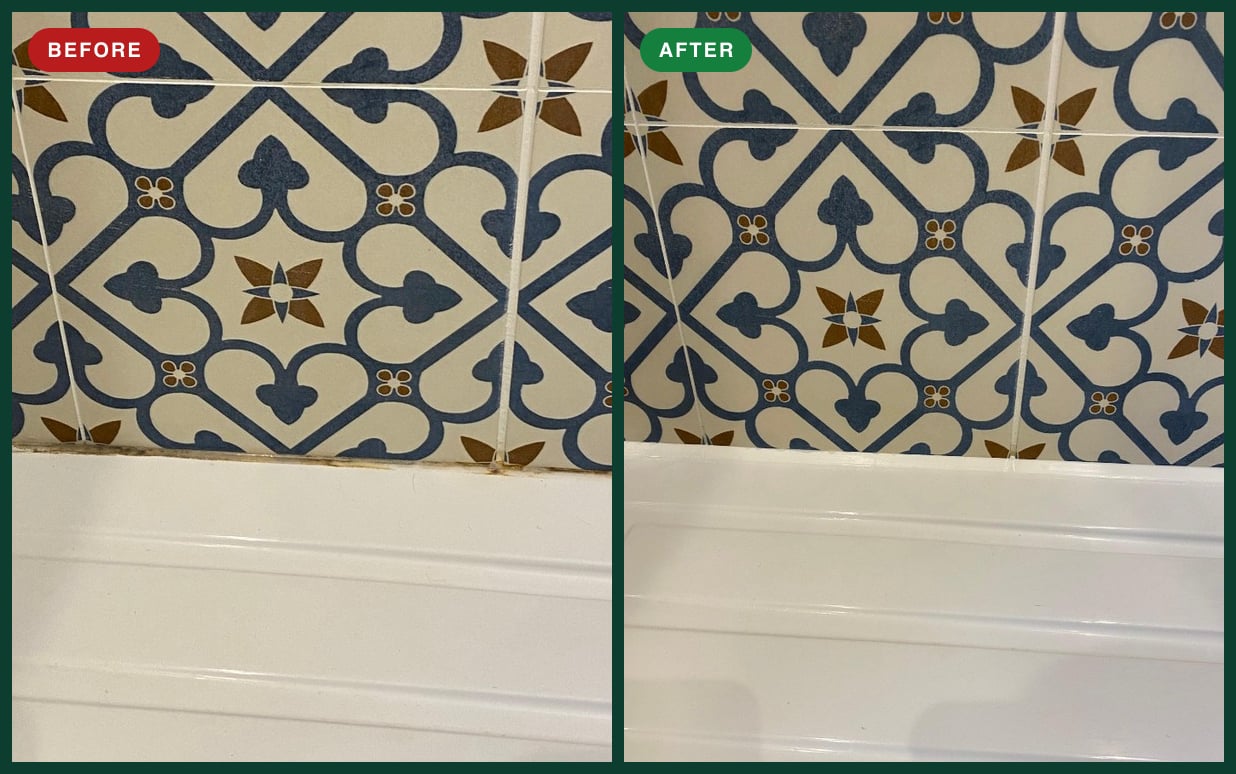
Patterned feature tiles are one of the easiest ways to give a bathroom real character. Bold Victorian and Moroccan-style designs like the blue and cream tiles in this job draw the eye the moment you walk in. But the eye also goes straight to anything that spoils them, and the first thing that usually lets feature tiles down is the seal along the bottom.
This shower from a recent job in South Wales shows how much difference a professional seal makes to the complete look of a feature wall.
Get a guide price for bathroom resealing in South Wales
Before and After: Same Tiles, Completely Different Look
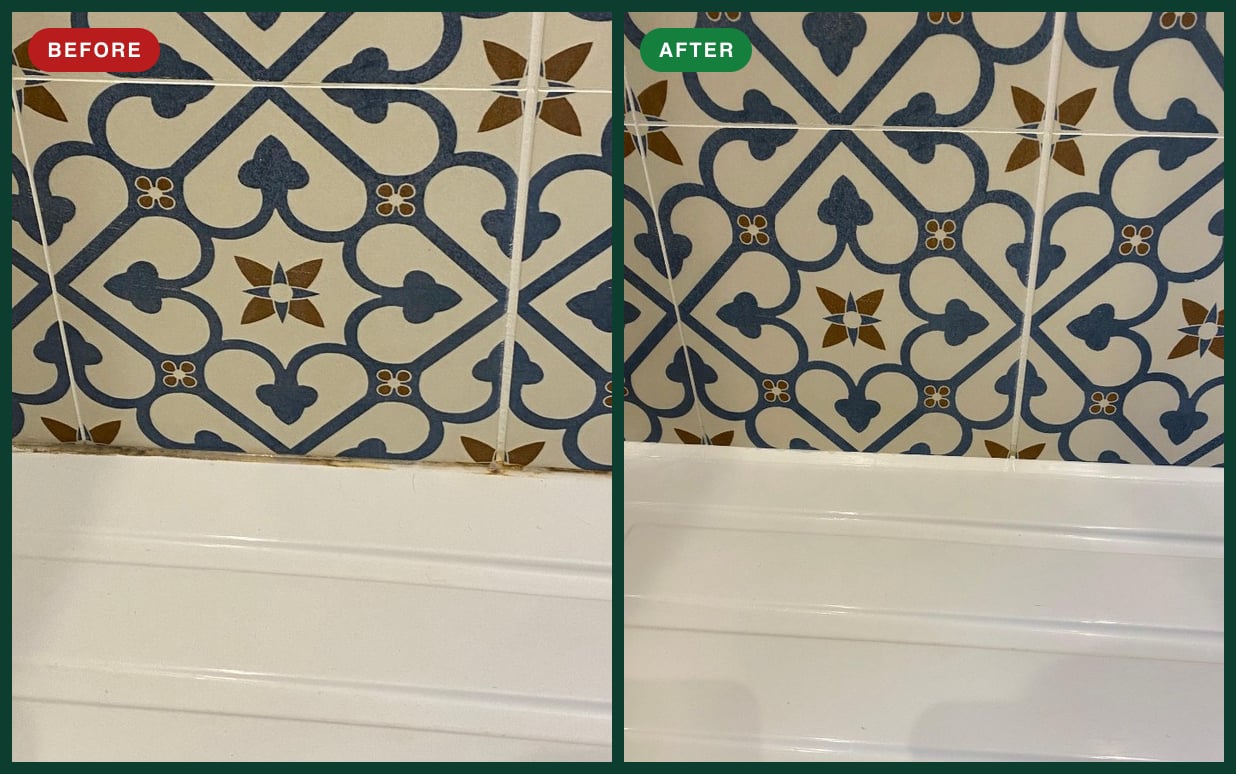
Nothing about the tiles changed in these two photos. The pattern, the grout and the shower tray are exactly the same. The only difference is the seal where the tray meets the wall, and it changes the whole feel of the shower.
Why a Tired Seal Spoils Feature Tiles
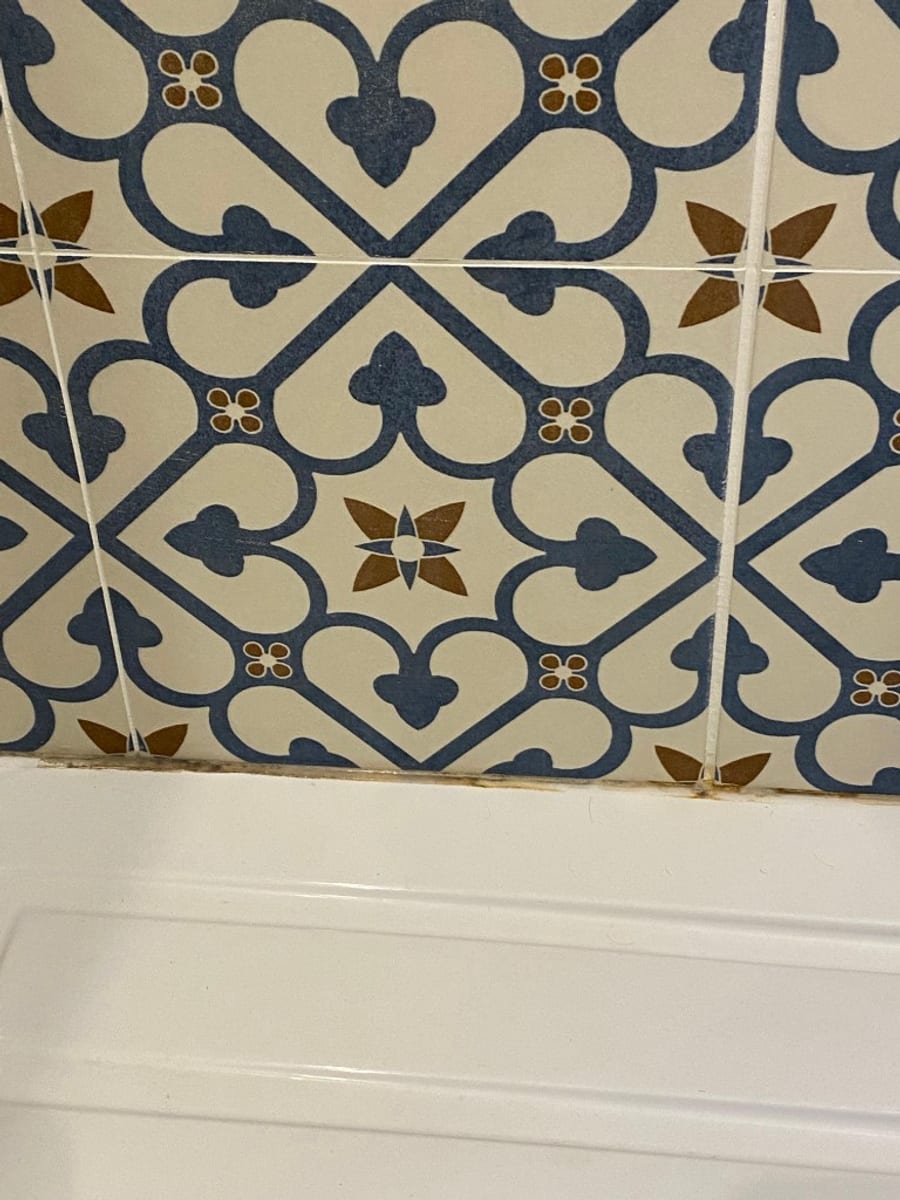
Before the reseal, the old silicone had turned brown and black along its length. Against busy patterned tiles you might expect that to be hidden, but it is the opposite: the dark line sits right where the pattern stops, so it frames the bottom of the feature wall in grime.
A tired seal like this:
- Makes clean tiles look dirty, however often the shower is cleaned
- Breaks the line of the pattern with a dark, uneven edge
- Makes a newer bathroom look old, because stained silicone is one of the first signs of age
- Hints at hidden problems, as mould and gaps usually mean water is getting behind the seal
No amount of scrubbing fixes it. Once mould has grown into silicone, the only real answer is to cut the old seal out and start again.
What a Professional Reseal Changes
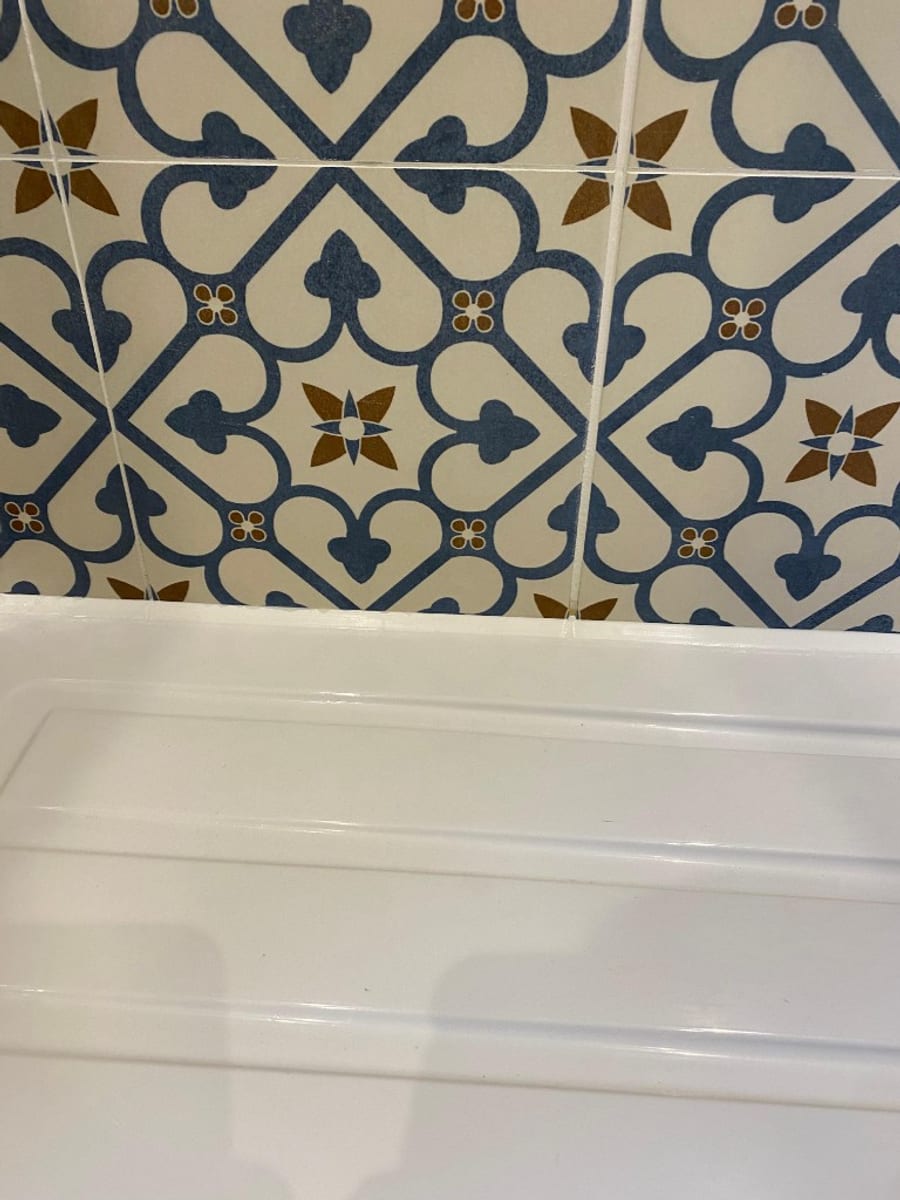
After the reseal, the joint between the tray and the tiles is a clean, straight white line. The pattern now finishes crisply at the tray, the white of the seal ties in with the tray and the cream in the tiles, and the feature wall looks the way it was meant to look when it was first fitted.
To get that finish we:
- Cut out all of the old silicone, taking care not to scratch the tray or chip the tile edges
- Cleaned and treated the joint so no mould is left behind to grow back through the new seal
- Let the joint dry fully before any new sealant went in
- Applied a mould-resistant sanitary silicone in one continuous, even bead
- Tooled the bead to a neat profile so it sheds water and stays easy to clean
Removing old silicone properly is the part that takes the time, and it is why stained or mouldy seals usually sit at the higher end of our guide price. Skipping it is why quick DIY reseals so often go black again within months.
Choosing the Right Colour for Feature Tiles
With patterned tiles, the colour of the seal matters as much as the neatness. White works well here because it matches the shower tray and picks out the cream in the tiles. With darker or more colourful tiles, a grey, cream or colour-matched sealant can look better. You can see the standard colours on our sealant colour chart.
When to Book a Reseal
It is worth booking a professional reseal for your feature tiles when:
- The silicone has turned brown, pink or black and will not clean up
- The seal is peeling, split or shrinking away from the tiles or tray
- You have just had new tiles fitted and want a finish that does them justice
- You are selling or letting the property and want the bathroom to photograph well
For more on the practical side of shower resealing, see our shower tray resealing before and after, or browse more finished work in our project gallery.
Bathroom Resealing Across South Wales
All Sealants Ltd reseals showers, baths, basins and feature tiles for homeowners and landlords across Cardiff, Newport, Swansea, Bridgend and the rest of South Wales.
Send us your postcode and a few photos of your shower or bath through our online form and you will get an instant guide price.